
Getting Your ESP32 Ready to Monitor AI
In my previous post, I covered how VibeMon was built — from a tiny LCD screen idea to a full cloud-connected AI status monitor. Today, let’s walk through the actual setup process for the ESP32 hardware.
The goal is simple: power on the device, connect it to your WiFi, and let it start receiving live status updates from VibeMon.
Step 1: Power On — The Device Broadcasts Its Own WiFi
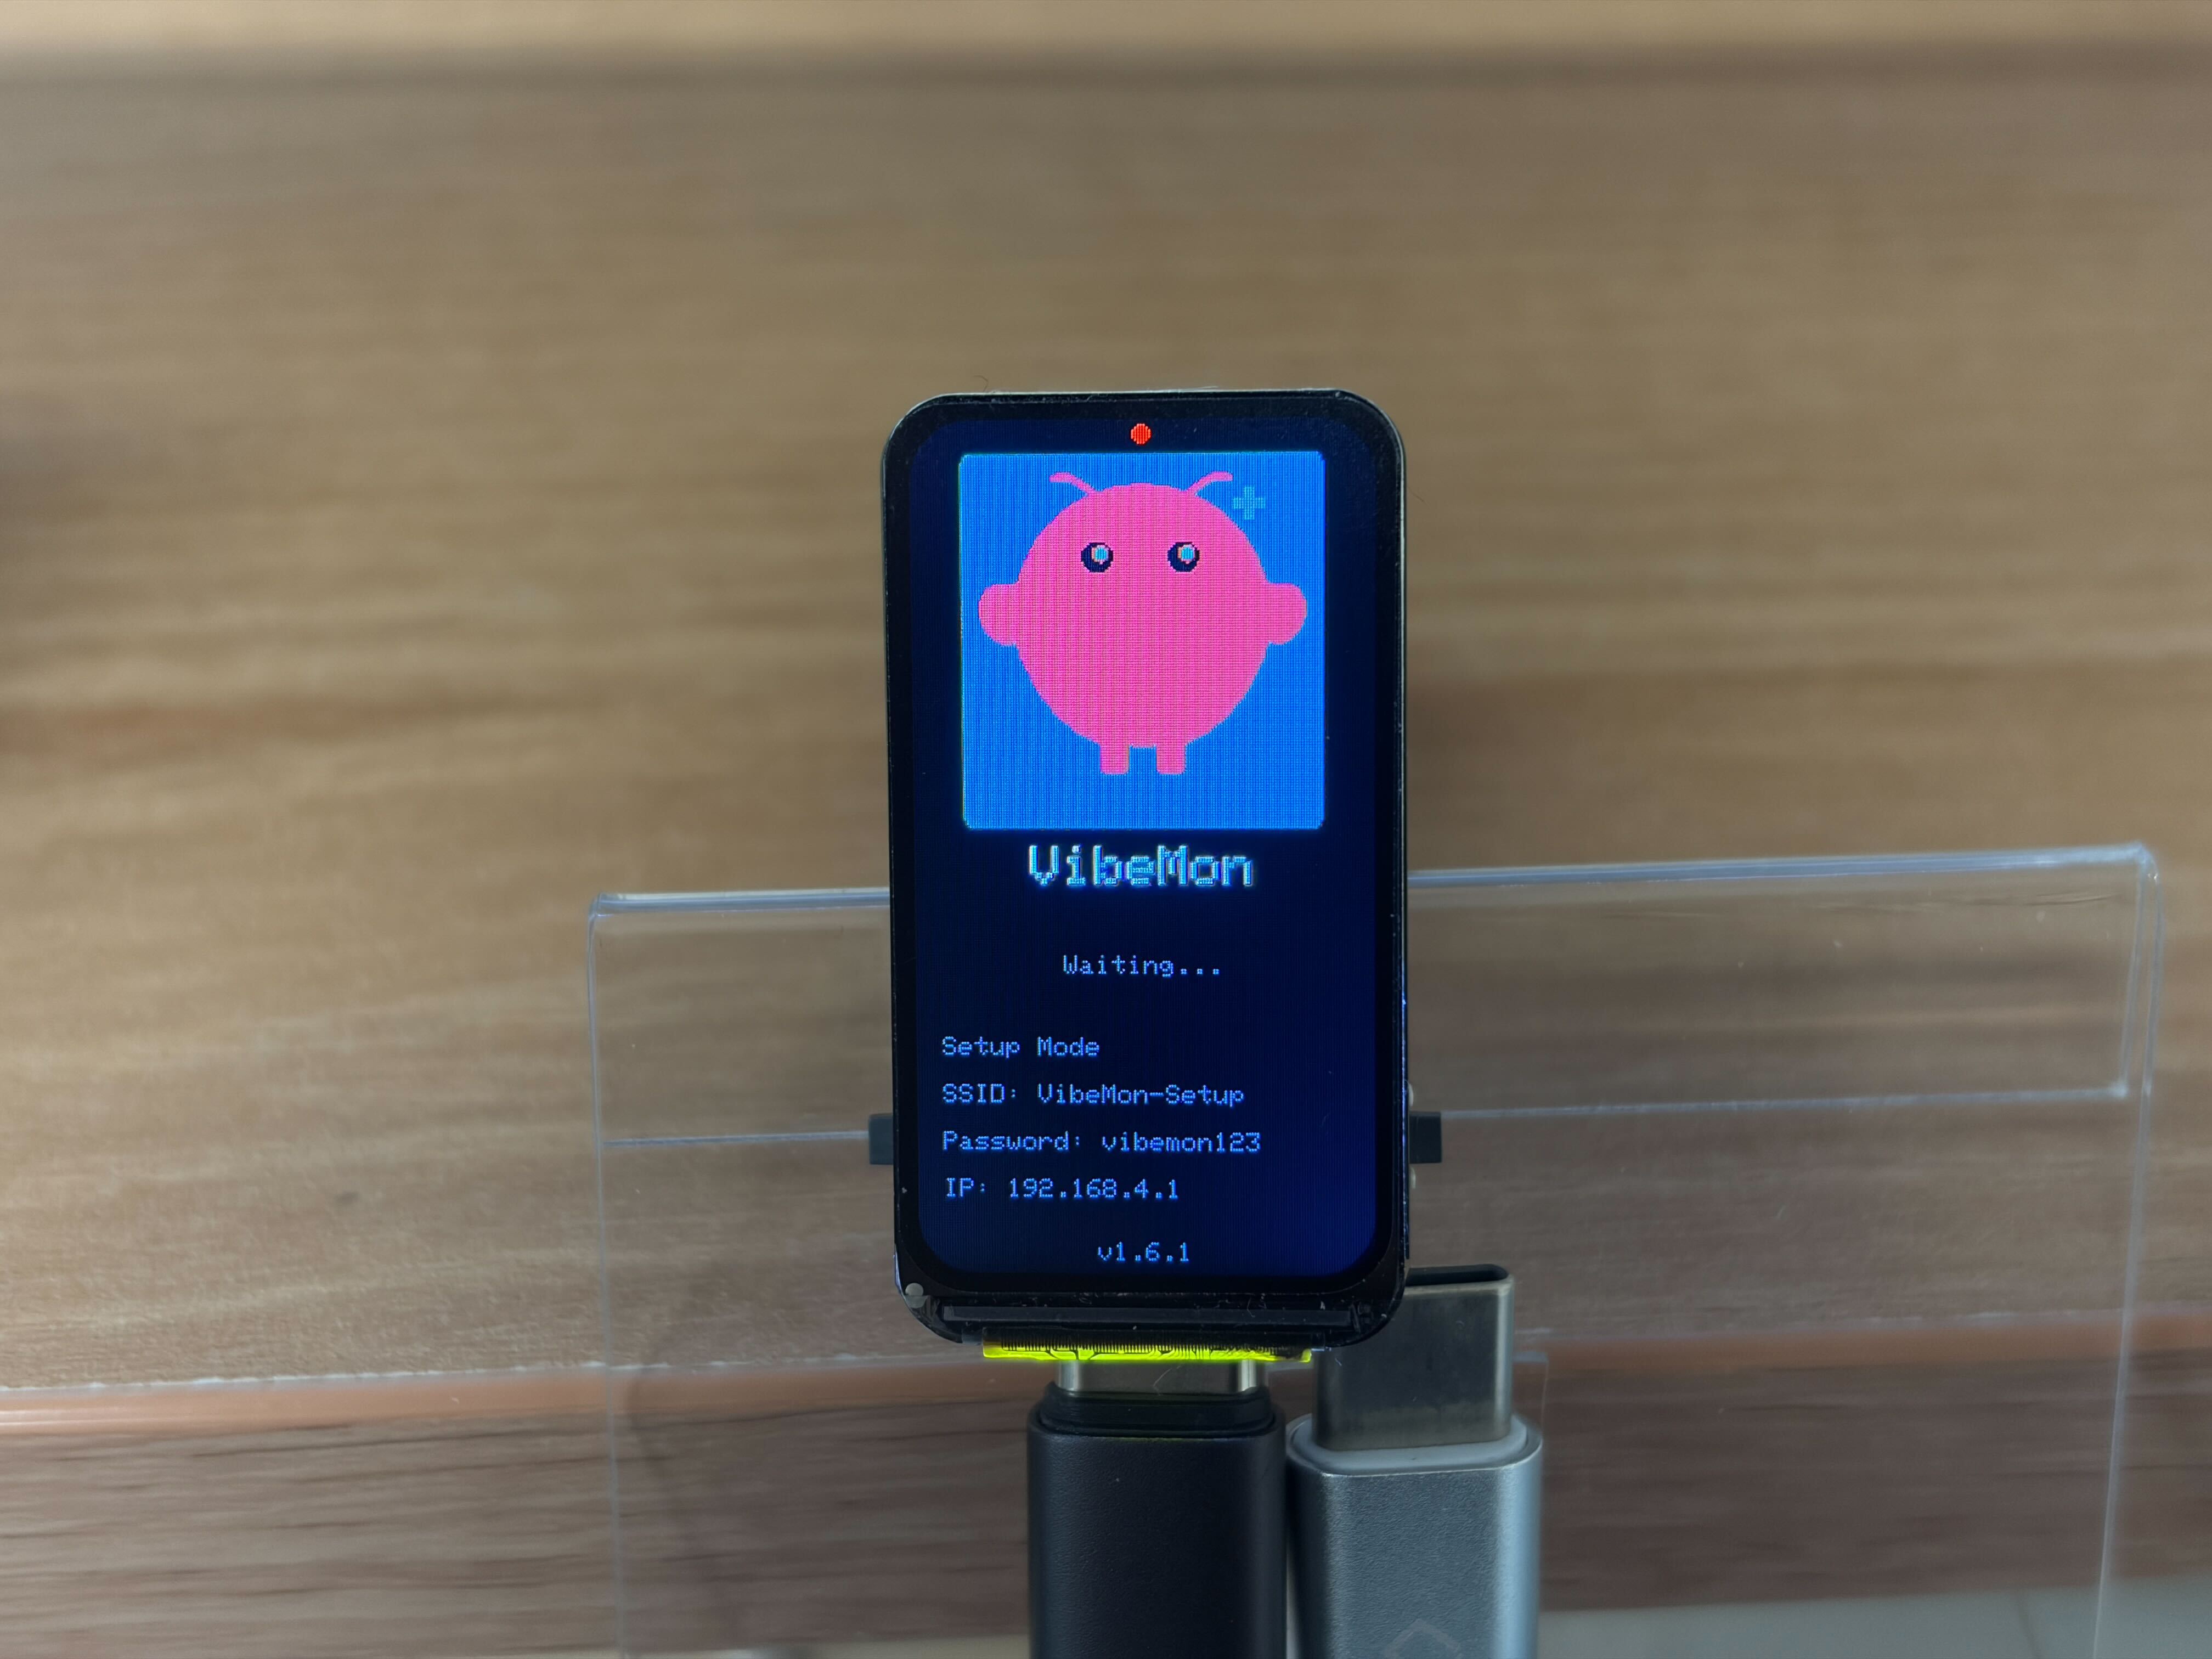
Plug the ESP32 into a USB power source. Within a few seconds, you’ll see a random VibeMon character appear on the tiny LCD screen.
The character shown here is OpenClaw (claw) — one of the three supported AI agent characters. Which character appears on first boot is randomized.
Along with the character, the screen shows the credentials for its built-in WiFi access point:
SSID:     VibeMon-Setup
Password: vibemon123
The ESP32 is now acting as its own WiFi hotspot, waiting for you to connect and configure it.
Step 2: Connect to VibeMon-Setup
On your Mac (or any WiFi-capable device), open the WiFi menu and look for the VibeMon-Setup network.
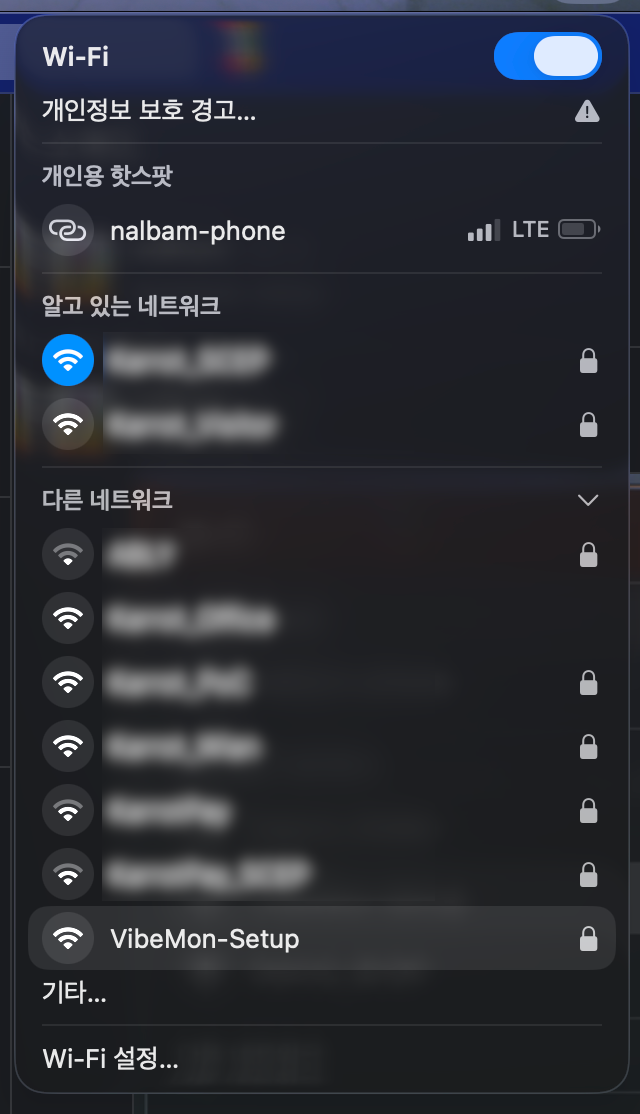
Select VibeMon-Setup, then enter the password when prompted:
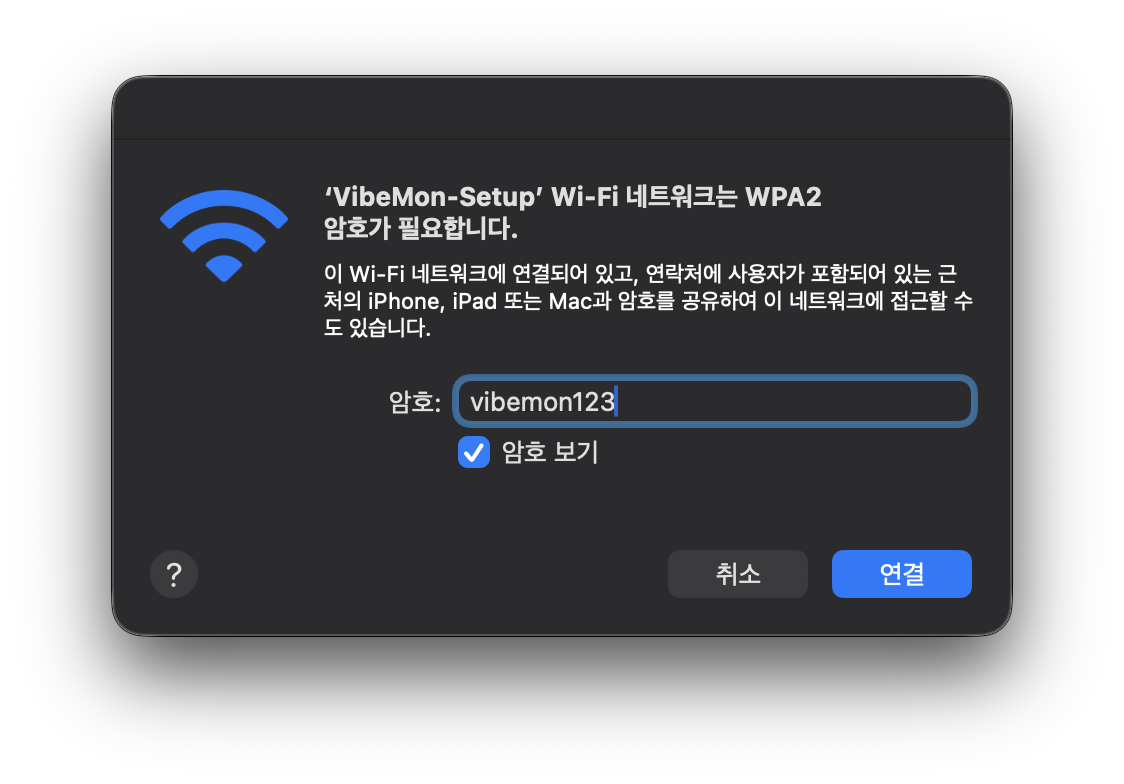
Password: vibemon123
Once connected, your device is now talking directly to the ESP32 over its local network.
Step 3: Configure WiFi and Token via the Setup Page
After connecting, your device will trigger a captive portal — the browser opens automatically. If it doesn’t, navigate to http://192.168.4.1 manually.
Using a smartphone? Make sure to disable mobile data before connecting. Otherwise your phone may route traffic through cellular and the captive portal won’t appear.
You’ll see the VibeMon Setup page:
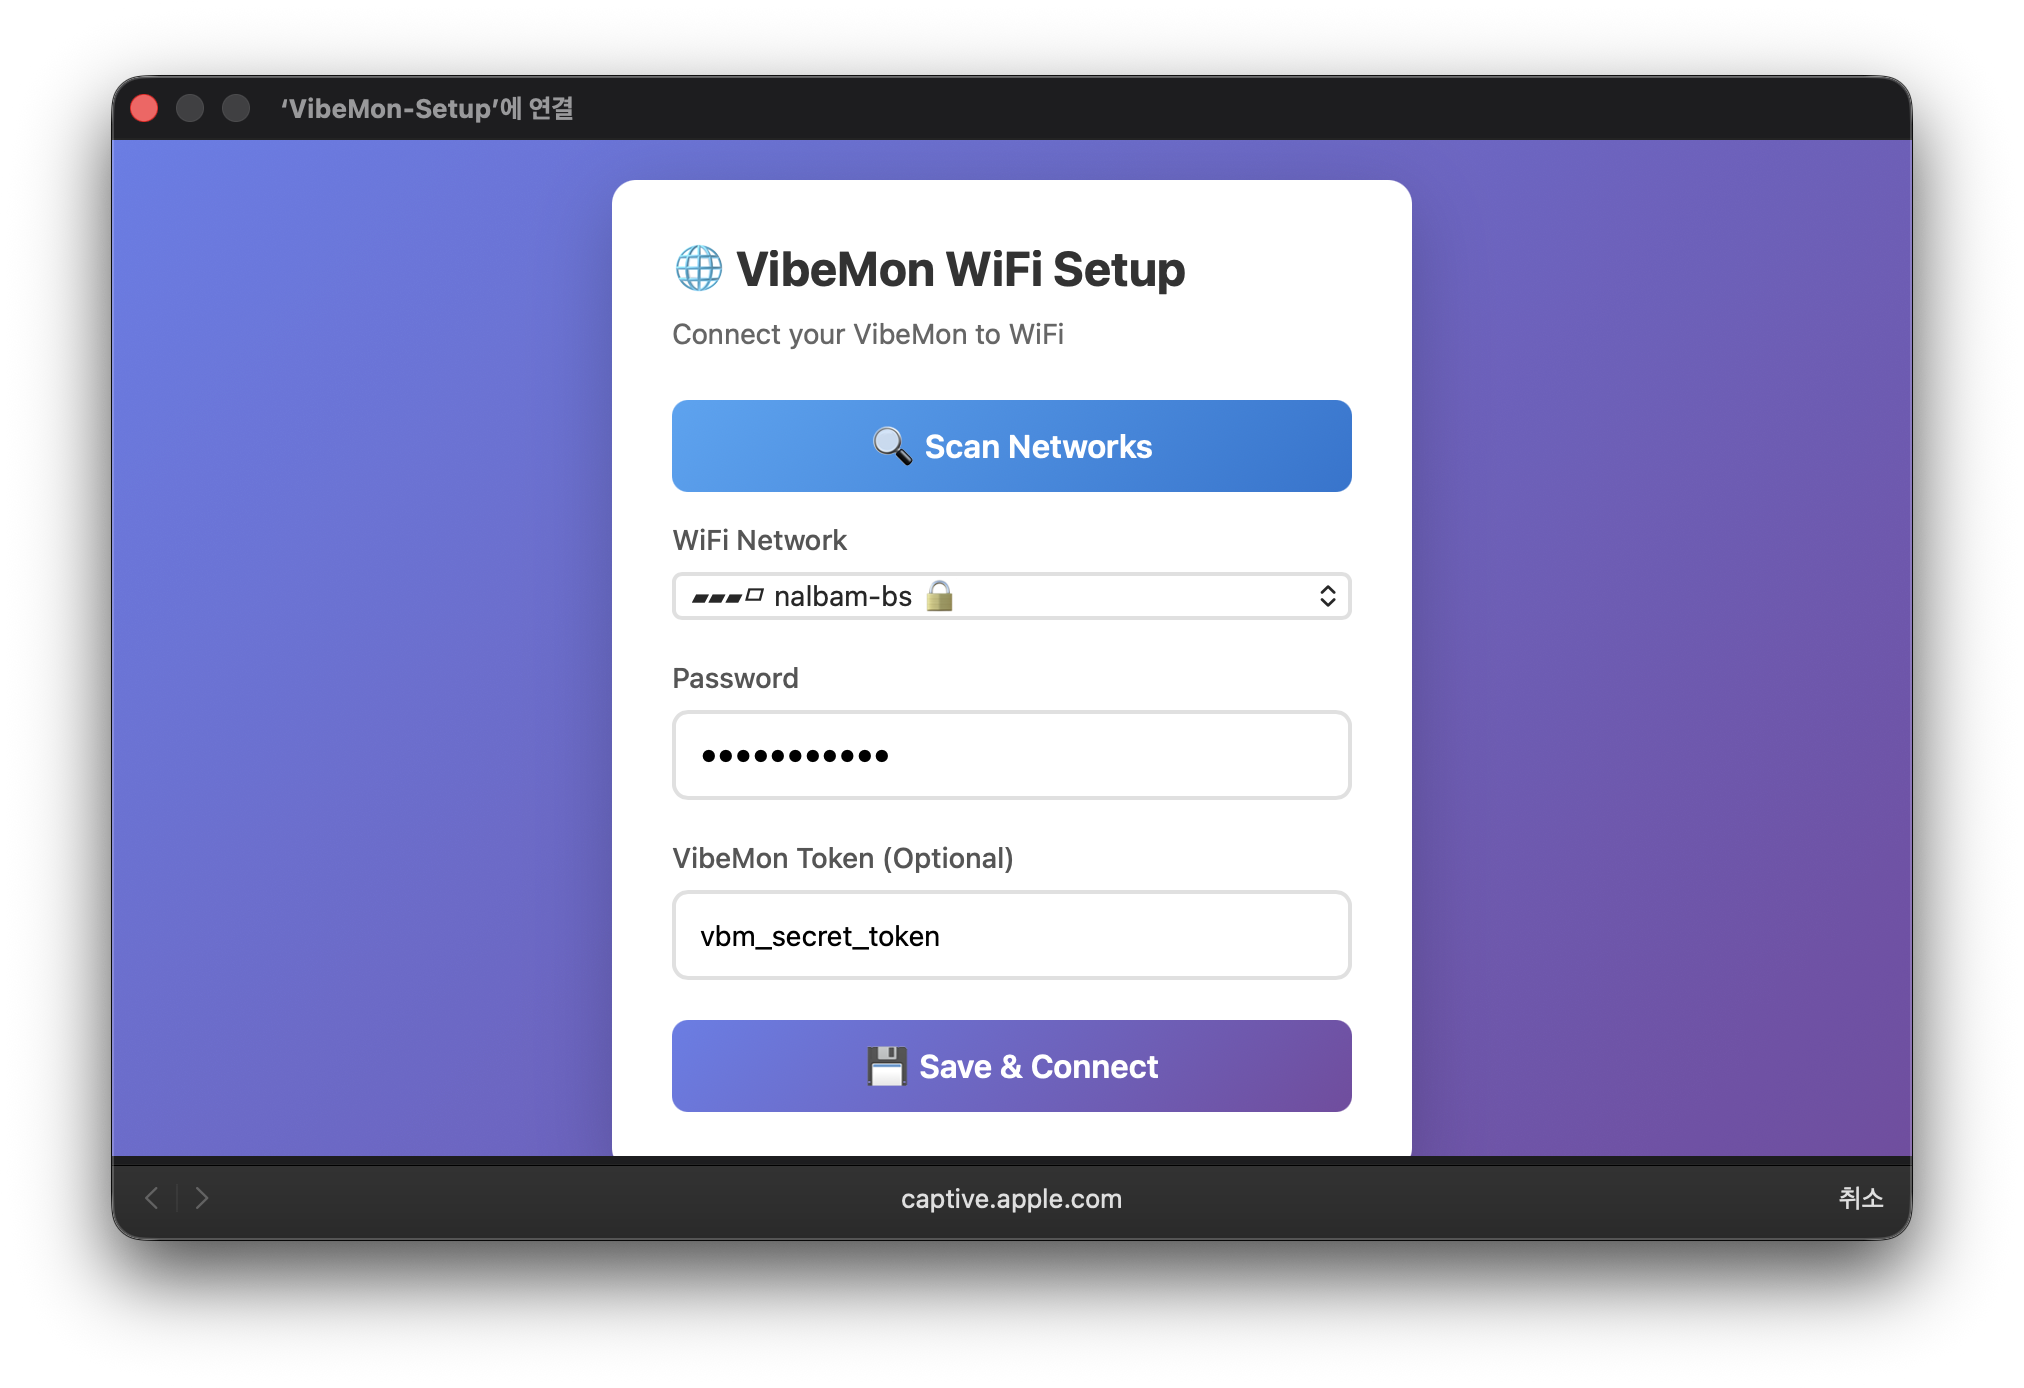
The setup page lets you configure three things:
| Field | Required | Description |
|---|---|---|
| WiFi SSID | ✅ | Search and select your home/office WiFi network |
| WiFi Password | ✅ | Password for the selected WiFi |
| VibeMon Token | Optional | Your token from vibemon.io to receive live status updates |
Selecting Your WiFi
The page scans nearby networks and lists them as selectable options. Just tap or click your network name — no need to type the SSID manually. If your network doesn’t appear, move closer to the router and hit Rescan.
VibeMon Token (Optional but Recommended)
Without a token, the device connects to WiFi but won’t receive any status data. To get a token:
- Visit vibemon.io
- Sign in and generate a token
- Paste it into the VibeMon Token field
If you skip the token for now, you can always re-enter setup mode by holding the reset button on the ESP32.
What Happens After You Submit
Once you fill in the fields and hit Save, the ESP32:
- Restarts automatically
- Connects to your WiFi network using the credentials you provided
- Establishes a WebSocket connection to VibeMon’s cloud server
- Starts receiving status updates — and displaying them on screen in real time
The LCD will show your AI agent’s current state: thinking, working, idle, or done — all reflected as pixel art animations on the little screen.
The entire process — from power-on to connected — takes under 30 seconds in total.
| Phase | Expected Time |
|---|---|
| Boot into provisioning mode | < 5 seconds |
| WiFi network scan | 3–8 seconds |
| Credential save | < 3 seconds |
| WiFi connection after reboot | 5–15 seconds |
Credentials (WiFi SSID, password, and VibeMon Token) are saved to the ESP32’s NVS (Non-Volatile Storage), so they survive reboots and power cycles.
Troubleshooting
Can’t find VibeMon-Setup in the WiFi list?
- Make sure the ESP32 is powered on and the screen shows the setup credentials
- Try moving closer to the device
Setup page doesn’t open automatically?
- Manually navigate to
http://192.168.4.1in your browser - On smartphones, disable mobile data before connecting — cellular traffic can prevent the captive portal from appearing
Network not showing up in the scan list?
- Move closer to your router and tap Rescan
- Verify the router is broadcasting its SSID (not hidden)
Device isn’t connecting to WiFi after setup?
- Double-check that your WiFi password was entered correctly
- After 20 failed connection attempts, the device will automatically clear its saved credentials and reboot back into provisioning mode — just reconfigure from Step 1
Need to reset WiFi settings without touching the device?
- If the device is already connected to your network, send a POST request to
/wifi-reset - This clears saved WiFi credentials (while keeping the VibeMon Token) and reboots into provisioning mode
Device isn’t connecting to VibeMon after setup?
- Confirm your VibeMon Token is valid at vibemon.io
- Re-enter setup mode and re-enter the token
Security note: The default AP password vibemon123 is publicly known. Complete the WiFi configuration quickly after first boot to minimize exposure.
That’s It!
Three steps: power on, connect, configure. Once your ESP32 is on your local network and linked to VibeMon, it quietly sits on your desk and tells you exactly what your AI coding assistant is up to — without you having to glance at the terminal.
Links:
- Dashboard: vibemon.io
- Desktop App: npm - vibemon
- GitHub: nalbam/vibemon, nalbam/vibemon-app
- Hardware: ESP32-C6-LCD-1.47